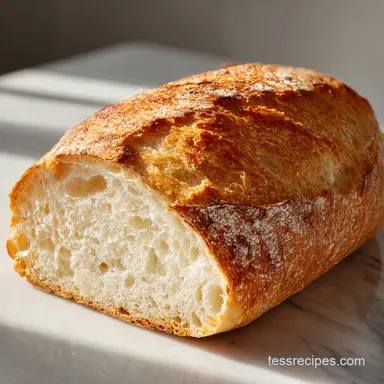
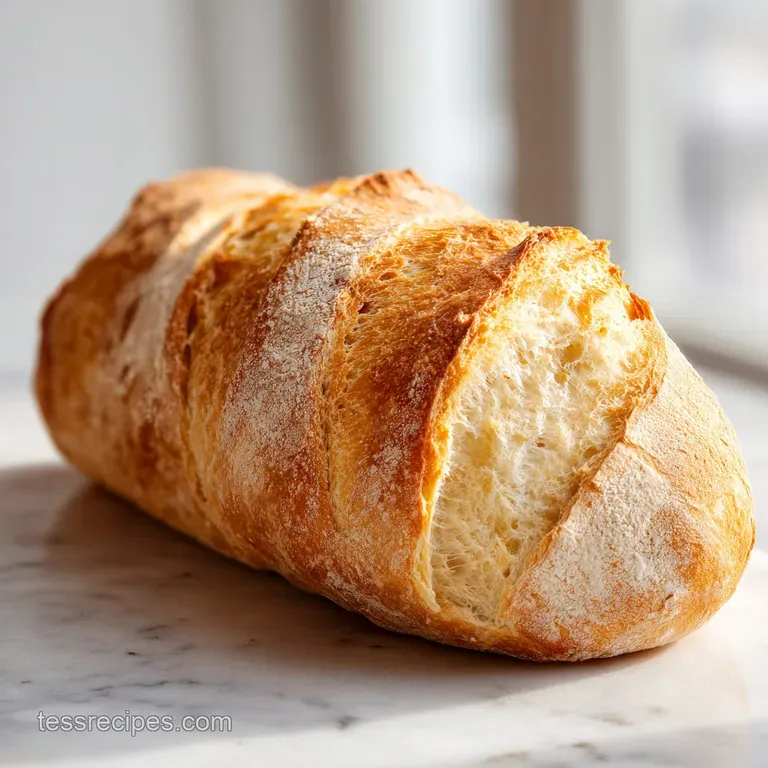
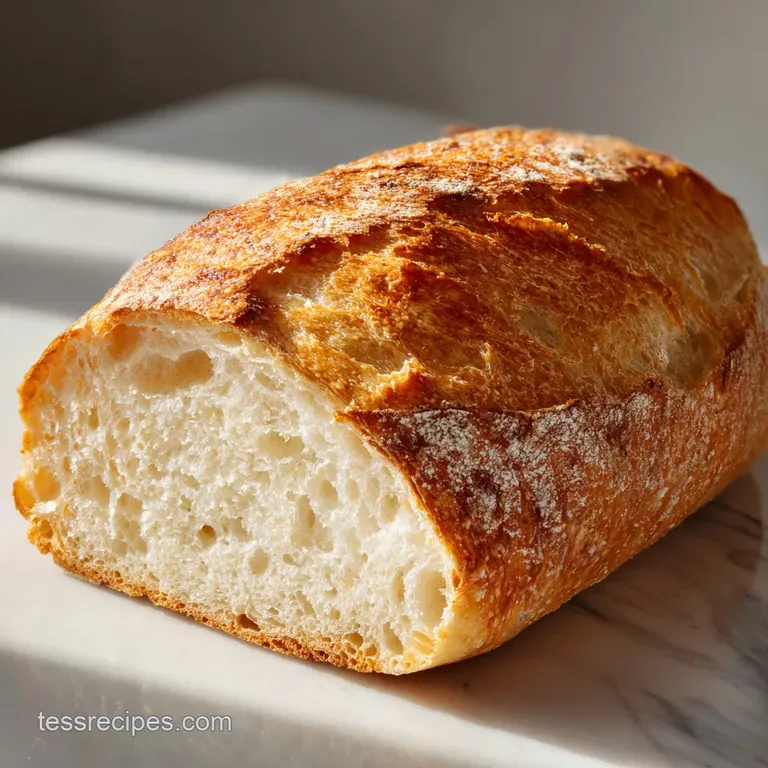
Easy French Bread: Golden and Crackling
- Time: 25 min active + 1 hour 30 mins rising = Total 2 hours 20 mins
- Flavor/Texture Hook: Golden, crackling crust with a velvety, airy center
- Perfect for: Weekend brunch or a fancy dinner side
- Easy French Bread Recipe That'll Make You Pro
- Why Steam Creates That Crunch
- The Bread Component Breakdown
- Gathering Your Ingredients
- The Essential Baking Tools
- Making Your Perfect Loaf
- Solving Common Baking Issues
- Troubleshooting Common Issues
- Twisting the Basic Recipe
- Keeping Your Bread Fresh
- Trendy Plating and Garnishes
- Recipe FAQs
- 📝 Recipe Card
Easy French Bread Recipe That'll Make You Pro
That sound. You know the one. It's the sharp, musical crackle of a fresh baguette being torn apart, a sound the French call le croustillant. Growing up, I always thought that specific texture was a guarded secret, something only possible in a stone walled boulangerie in Paris where the air smells like toasted grain and patience.
For a long time, I just accepted that home ovens were too "dry" to ever replicate that magic.
But then I started playing with the humidity in my own kitchen. I realized that the difference between a bland home loaf and a pro baguette isn't just the flour, it's the environment. Once I figured out how to fake a professional steam oven using a simple pan of water, everything changed.
Now, the smell of warm, yeasty dough filling my house is my favorite weekend ritual.
Master the perfect loaf with this Easy French Bread Recipe That'll Make You Look Like a Pro Baker. It's not about having a degree in baking, it's about understanding a few simple tricks that make the dough behave.
We're going to turn a few basic pantry staples into something that looks like it cost ten dollars at a specialty shop.
Why Steam Creates That Crunch
It's all about the moisture in the air during those first few minutes of baking. Most home ovens suck the moisture out of the bread too fast, which creates a thick, tough skin that stops the bread from growing.
The Steam Barrier: Water vapor keeps the surface of the dough moist and flexible, allowing the bread to expand fully before the crust sets.
The Starch Gel: Moisture on the surface turns the starches into a thin gel, which browns into a glossy, shatter crisp finish.
Yeast Activation: Warm water wakes up the yeast, giving it the energy to create those big, airy holes in the crumb.
Gluten Structure: Kneading aligns the proteins, creating a stretchy web that traps gas and lets the loaf rise tall.
| Steam Method | Time | Texture | Best For |
|---|---|---|---|
| Pan of Water | 25 min | Classic crackle | Beginners |
| Spray Bottle | 25 min | Very thin crust | Quick bakes |
| Dutch Oven | 25 min | Thick, rustic | Artisan style |
The Bread Component Breakdown
Knowing what each item actually does helps you avoid mistakes. If you know why the sugar is there, you won't accidentally double it and end up with a cakey loaf.
| Ingredient | Science Role | Pro Secret |
|---|---|---|
| Bread Flour | High protein for structure | Use a scale for 375g to avoid packing the cup |
| Active Dry Yeast | Carbon dioxide production | Warm water must be 105-115°F or it won't wake up |
| Melted Butter | Softens the crumb | Adds a velvety interior that lasts longer |
| Salt | Regulates yeast growth | Prevents the bread from rising too fast and collapsing |
Gathering Your Ingredients
Keep things simple. You don't need fancy organic imports to make this work, just the right types of staples. Trust me on the flour choice, it's the one place where you shouldn't cut corners.
- 3 cups (375g) bread flour Why this? Higher protein creates the necessary structure
- 1 cup (235ml) warm water Why this? Activates yeast without killing it
- 2 1/4 tsp (7g) active dry yeast Why this? Reliable rise and consistent flavor
- 1 tsp (4g) sugar Why this? Feeds the yeast for a faster start
- 1 1/2 tsp (9g) salt Why this? Tightens gluten and adds flavor
- 2 tbsp (28g) unsalted butter, melted Why this? Ensures a soft, professional crumb
- 1 tbsp (15ml) water Why this? Simple crust hydration
- 1 egg beaten with 1 tbsp water (optional) Why this? Creates a deep golden shine
| Original Ingredient | Substitute | Why It Works |
|---|---|---|
| Bread Flour | All Purpose Flour | Lower protein. Note: Loaf will be softer and less "chewy" |
| Unsalted Butter | Olive Oil | Similar fat content. Note: Adds a slight Mediterranean flavor |
| Active Dry Yeast | Instant Yeast | Faster acting. Note: Skip the 10 minute frothing step |
Right then, make sure your butter is melted but not scorching hot. If it's boiling, it could shock the yeast and leave you with a flat pancake instead of a baguette.
The Essential Baking Tools
You don't need a professional kitchen to pull this off. A few basic tools will do the job, but there are a couple of things that make the process way smoother.
For the dough, a large mixing bowl and a sturdy whisk are your best friends. I usually use a silicone spatula to fold in the flour, but a wooden spoon works just as well. If you have a kitchen scale, use it. Measuring flour by the cup is a gamble because you can easily pack too much in.
For the baking, you'll need parchment paper. This is non negotiable for me because it prevents the bottom from sticking and makes transferring the loaf to the oven a breeze. You also need a very sharp knife or a razor blade for the scoring.
If the knife is dull, it will tear the dough rather than slice it, which ruins the look.
Finally, don't forget the shallow pan for the bottom of your oven. Any metal pan that can handle 450°F (230°C) will work. This is the "secret weapon" that creates the steam.
Making Your Perfect Loaf
Let's crack on. Follow these steps closely, and keep an eye on those visual cues.
- Whisk warm water, sugar, and yeast in a bowl; let sit for 5–10 minutes until frothy and smelling yeasty. Note: If it doesn't foam, your yeast is dead start over.
- Stir in melted butter, then gradually fold in the bread flour and salt until a shaggy dough forms.
- Turn dough onto a floured surface and knead for 5–7 minutes until the dough feels smooth and springy. Note: It should bounce back when poked.
- Place dough in a greased bowl, cover, and let rise for 1 hour and 30 minutes until it has doubled in size.
- Shape the dough into a baguette, place on parchment paper, and score the top with a sharp knife or razor.
- Brush the crust with water or the optional egg wash.
- Place a pan of water at the bottom of the oven and bake at 450°F (230°C) for 25 minutes until the crust is golden brown and sounds hollow when tapped.
Chef's Note: When scoring, don't go too deep. A slice about half an inch deep is plenty. If you go deeper, the bread might flatten out instead of springing upward.
Solving Common Baking Issues
Bread can be finicky. One day it's a masterpiece, and the next it's a brick. But most problems have a simple cause.
Troubleshooting Common Issues
| Issue | Solution | ||||||||||
|---|---|---|---|---|---|---|---|---|---|---|---|
| Why Your Loaf Stayed Flat | This usually happens when the yeast isn't active or the dough wasn't kneaded enough. If the gluten isn't developed, the bread can't hold onto the gas bubbles. | ||||||||||
| Why The Crust Is Too Hard | If you forget the water pan, the oven air is too dry. This creates a thick, hard shell that can be difficult to chew. | ||||||||||
| Why The Bottom Burnt | Some ovens have "hot spots" at the bottom. Moving your rack up one level usually fixes this. | Problem | Root Cause | Solution | --------------------- | ----------- | -------------- | Dense Interior | U |
Twisting the Basic Recipe
Once you've nailed the basic loaf, you can start getting creative. I love adding a bit of garlic powder or dried rosemary to the flour for a savory version. It's a brilliant way to switch things up without changing the chemistry.
If you're serving this as part of a bigger meal, it's a fantastic partner for something rich. For instance, this bread is the best tool for mopping up the sauce from a Creamy Mac and Cheese or a hearty soup. The chewiness of the bread balances out the creaminess of the cheese.
For a different vibe, try adding a teaspoon of honey instead of sugar. It gives the crust a slightly darker, more caramelized color and a hint of floral sweetness. Just be careful, as honey can make the dough a bit stickier.
Keeping Your Bread Fresh
Fresh bread is best eaten within a few hours, but we all know that's not always realistic. The trick is to avoid the fridge. Putting bread in the refrigerator actually makes it go stale faster because of a process called starch retrogradation.
Store your loaf in a paper bag at room temperature for about two days. If you need it to last longer, slice it first and freeze it in a heavy duty freezer bag. When you're ready to eat, just pop a slice directly into the toaster. It'll taste just as fresh as the day you baked it.
For zero waste tips, don't toss the ends! Stale French bread is the gold standard for croutons. Cube them up, toss with olive oil and salt, and bake at 350°F (180°C) for 10 minutes. They're also amazing when used in a Chicken Spaghetti casserole as a crunchy topping.
Trendy Plating and Garnishes
To make your bread look like it came from a high end bistro, you need to focus on color balance. A golden brown loaf is beautiful, but it needs a pop of color to really stand out on a platter.
I recommend three specific color accents to bring the dish to life. First, add a sprinkle of fresh, bright green parsley or chives over the board. Second, serve it with a side of deep red roasted pepper jam or a bowl of sun dried tomato pesto.
Third, add some creamy white accents, like a swirl of softened salted butter or a wedge of brie.
Arrange the loaf diagonally across a wooden cutting board. Scatter a few cloves of roasted garlic and some flaky sea salt around the base. This creates a rustic, "effortless" look that makes you look like a pro baker without trying too hard.
The contrast between the golden crust, the green herbs, and the red jam makes the whole spread look vibrant and appetizing.
Recipe FAQs
How to ensure the yeast is active?
Whisk warm water, sugar, and yeast in a bowl and let it sit for 5 10 minutes. It should become frothy before you add the other ingredients.
Can I use all-purpose flour instead of bread flour?
No, stick with bread flour. The higher protein content is necessary to create the structure and chew typical of a baguette.
Why did my French bread stay flat?
This usually happens if the yeast is inactive or the dough wasn't kneaded enough. Developed gluten is required to hold the gas bubbles that make the bread rise.
How to get a professional, crispy crust?
Bake at 450°F (230°C) with a pan of water at the bottom of the oven. The steam prevents the crust from setting too quickly, allowing for better expansion and texture.
Is it true that I must knead the dough for an hour to get it smooth?
No, this is a common misconception. Knead the dough on a floured surface for only 5 7 minutes until it feels smooth and springy.
How to prevent the bottom of the loaf from burning?
Move your oven rack up one level. This helps avoid hot spots at the bottom of the oven that can scorch the crust.
What should I use to glaze the top for a professional shine?
Brush the crust with water or a beaten egg mixed with 1 tbsp water. This optional step creates a golden, polished finish.
Easy French Bread Recipe