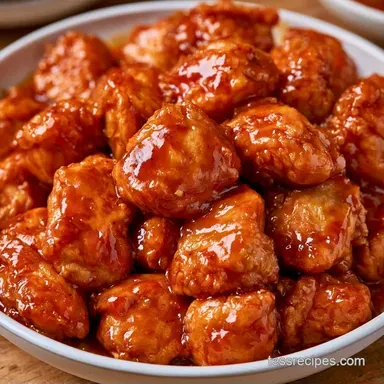
Instant Pot Sweet and Sour Chicken
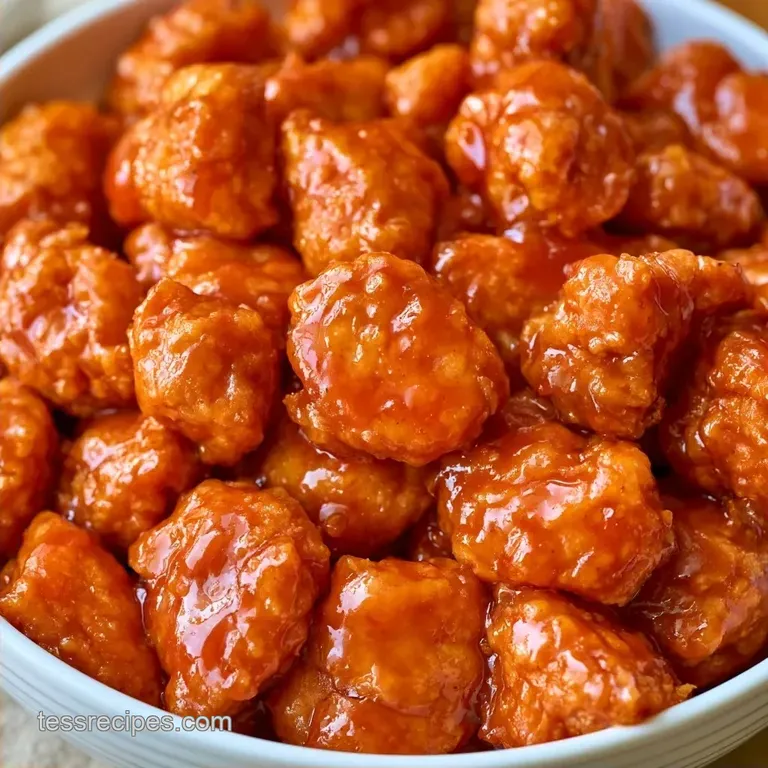
- Time: 10 min prep + 20 min cook time
- Flavor/Texture Hook: Zesty, sticky glaze with succulent chicken
- Perfect for: Hectic weeknights and picky eaters
The scent of simmering ginger and pineapple wafting through the house is enough to stir an appetite. I remember one Tuesday when I was totally spent, and the prospect of cleaning a wok and a rice cooker felt like an insurmountable chore. I wanted those takeout flavors minus the oily residue.
I experimented with several methods to perfect the textures in a pressure cooker, and this specific routine is what truly delivers. You can have dinner served in 30 minutes, and you only have one pot to wash.
The aim is a Sweet and Sour Chicken that avoids tasting like corn syrup. We want a vivid, bold sauce that sticks to the meat while ensuring the vegetables stay crisp.
Why This Method Works
- Thighs over Breasts: Using chicken thighs is the trick to a rich result. The fat and collagen break down under pressure, making the meat velvety and juicy.
- Pot in-Pot Logic: Cooking the rice in a separate bowl on a trivet means the grains don't soak up all your sauce. You get fluffy rice and a concentrated glaze.
- Sauté Finish: Reducing the sauce at the end is the only way to get that sticky, glossy look. Without this step, you're just eating chicken soup.
| Method | Time | Texture | Best For |
|---|---|---|---|
| Pressure Cook | 30 mins | Tender/Sticky | Weeknights |
| Traditional Stir Fry | 45 mins | Crispy/Fresh | Weekend Cooking |
| Slow Cooker | 4 hours | Very Soft | Meal Prep |
Recipe Specs
This recipe is all about efficiency. Rather than spending an hour chopping, we'll toss everything into the pot and let the pressure cooker handle the hard work.
By using the Sauté function at the end, you achieve a depth of flavor that typically takes much longer to develop on a stovetop. It's a quick route to a satisfying meal that doesn't sacrifice those bold Asian flavors we love.
Gathering Your Essentials
The sauce relies on a balance of acid and sugar. I use rice vinegar for a sharper tang, but you can swap it if you're out. The honey provides the thickness, while the soy sauce adds that savory depth.
For the vegetables, the water chestnuts are a must for a bit of crunch. If you skip them, the dish loses that contrasting texture. Most of these items are staples, and if you're missing one, the substitution table below has you covered.
Tools You Will Need
You'll need an Instant Pot or similar electric pressure cooker. For the rice, a stainless steel bowl that fits inside your pot is a lifesaver.
A whisk for the sauce and a decent set of tongs for the final sauté are the only other things you'll need. Trust me, don't try to use a plastic bowl for the rice; it won't handle the steam and heat.
Ingredients and Substitutes
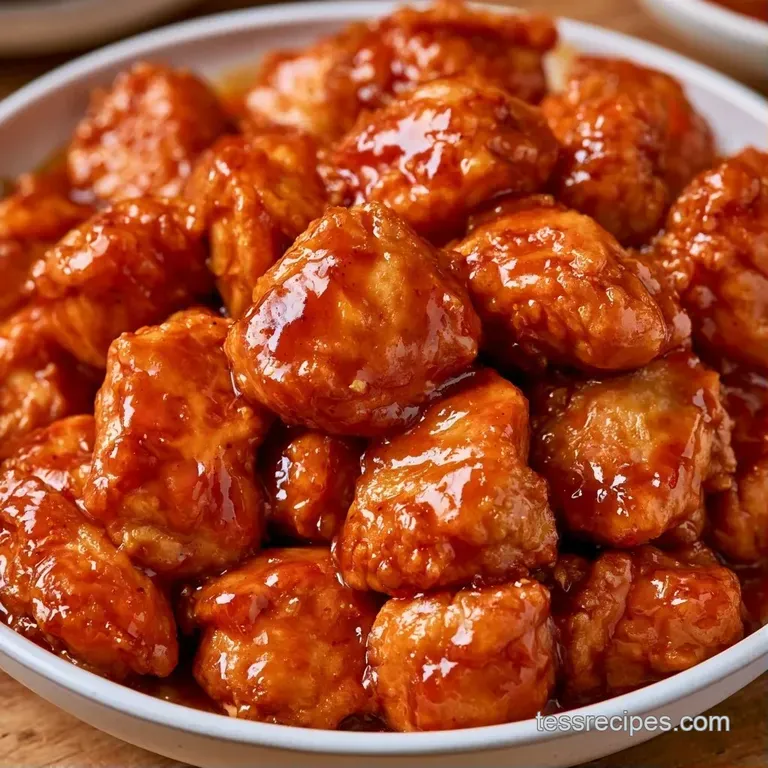
- 1.5 lbs boneless, skinless chicken thighs, diced into 1-inch pieces Why this? Remains juicy under heat
- 1 cup fresh pineapple chunks Why this? Natural tang and sweetness
- 1 red bell pepper, cut into 1-inch pieces Why this? Vivid color and mild sweetness
- 1 green bell pepper, cut into 1-inch pieces Why this? Earthy, grounding flavor
- 1/2 cup sliced water chestnuts Why this? Necessary crisp texture
- 1/2 cup pineapple juice Why this? Forms the basis of the glaze
- 1/4 cup rice vinegar Why this? Provides a sharp, sour pop
- 3 tbsp soy sauce Why this? Salt and umami depth
- 2 tbsp honey Why this? Thickens the consistency
- 1 tbsp ketchup Why this? Tomato richness and color
- 1 tsp minced ginger Why this? A zesty, warm flavor
- 2 cloves garlic, minced Why this? Aromatic starting point
- 1 cup jasmine rice, rinsed Why this? Aromatic and fluffy
- 1 1/4 cups water Why this? Standard cooking ratio
| Original Ingredient | Substitute | Why It Works |
|---|---|---|
| Honey (2 tbsp) | Brown Sugar | Similar sweetness. Note: Less viscous |
| Rice Vinegar (1/4 cup) | Apple Cider Vinegar | Similar acidity. Note: More fruit-forward taste |
| Chicken Thighs (1.5 lbs) | Chicken Breast | Lower fat. Note: Prone to drying out |
| Water Chestnuts (1/2 cup) | Sliced Celery | Adds crunch. Note: Different flavor profile |
Making the Meal
- Whisk together the pineapple juice, rice vinegar, soy sauce, honey, ketchup, ginger, and garlic in a medium bowl.
- Pour the sauce mixture directly into the Instant Pot liner.
- Add the diced chicken thighs to the liner and stir Note: ensures every piece is coated.
- Place the trivet over the chicken.
- Combine rinsed rice and water in a stainless steel bowl and nestle it onto the trivet.
- Secure the lid and set the Instant Pot to High Pressure for 8 minutes.
- Allow a natural pressure release for 5 minutes, then manually release the remaining steam.
- Remove the rice bowl and set it aside.
- Turn on the Sauté function and add bell peppers, pineapple chunks, and water chestnuts.
- Sauté for 3-5 mins until vegetables are vibrant but still have a snap.
Chef's Note: If you want an even deeper flavor, add a pinch of red pepper flakes to the sauce whisking stage. It doesn't make it "spicy" but it cuts through the sweetness of the pineapple.
Solving Common Issues
Fixing a Runny Sauce
If your sauce doesn't thicken during the sauté phase, it's usually because the liquid hasn't reached a hard boil. Keep the Sauté function on high and stir constantly for another 2 minutes.
If it's still too thin, mix 1 tsp of cornstarch with a splash of water and stir it in; it will thicken in about 30 seconds.
Preventing the Burn Notice
The "Burn" error happens if the sauce is too thick or sticks to the bottom. Since we're using pineapple juice and vinegar, we have plenty of thin liquid to prevent this. Just make sure you stir the chicken into the sauce well before starting the pressure cycle.
Handling Mushy Vegetables
Adding the vegetables at the beginning is a common mistake I've made. If you pressure cook the peppers, they turn into mush. Always add them during the Sauté step at the end. This keeps the colors bright and the texture snappy.
Plating and Serving
For the best look, scoop a generous mound of rice onto the side of a shallow bowl. Spoon the and Sour Chicken over the top, making sure each serving gets a few chunks of pineapple and water chestnuts.
The sauce should be a deep, glossy mahogany color. If you're serving this to a crowd, a sprinkle of toasted sesame seeds or sliced green onions on top adds a professional touch. For a different take on an Asian meal, you might pair this with some steamed bok choy or look at my Sesame Chicken recipe for another high pressure win.
Storing Your Leftovers
Keep the rice and Sour Chicken in separate containers in the refrigerator. This ensures the rice doesn't soak up all the sauce and turn gummy. They will stay fresh for roughly 3 days.
If you prefer to freeze them, I suggest only doing so with the chicken and sauce, as rice often loses its quality in the freezer. Place them in a sealable freezer bag for as long as 2 months. To reheat, a small amount of water in the microwave will help restore the sauce's original gloss.
To avoid waste, save any remaining pineapple juice from the can (unless you used fresh). It makes an excellent base for a pork marinade or can be blended into a morning smoothie.
Twists and Swaps
If you want to make this and Sour Chicken more healthy, you can swap the white jasmine rice for brown rice. Just remember that brown rice takes much longer to cook, so you'll need to increase the pressure time to about 22 minutes.
For those who aren't fans of pineapple, you can use extra red pepper and a bit of extra honey to maintain the balance. This "without pineapple" version is actually a hit with kids who find the fruit in their dinner weird.
If you're looking for other fast ways to get dinner on the table, my Chicken in 25 Minutes recipe is another great option that uses similar techniques.
| Goal | What to change |
|---|---|
| Less Sugar | Swap honey for a stevia blend |
| Extra Spice | Add 1 tsp Sriracha to sauce |
| Leaner Meat | Use breast, reduce pressure to 6 mins |
Right then, that's the whole process. Once you get the hang of the pot in-pot method, you'll find yourself using it for everything. Just remember to check the meat temperature, USDA guidance puts the safe internal temperature at 165°F, though the 8 minute pressure cycle usually handles this easily.
Enjoy your Pot Sweet and Sour Chicken!
Recipe FAQs
What's the secret to great sweet & sour?
Balance your rice vinegar, honey, and pineapple juice to achieve that signature tang. Use the sauté function at the end to reduce the sauce into a sticky glaze that clings to the meat.
Why is my chicken rubbery in the Instant Pot?
You likely overcooked the meat or skipped the natural release. Stick to the high pressure setting for exactly 8 minutes and allow 5 minutes of natural release to keep the thighs tender.
How do Chinese restaurants make sweet and sour chicken?
Combine a sweet acid base with protein and toss them together quickly. You can replicate this style by reducing your sauce into a thick glaze before stirring in the cooked chicken.
What are common mistakes cooking chicken in an Instant Pot?
Forgetting to let the pressure release naturally is a frequent error. This immediate drop in pressure can toughen the meat, so always wait 5 minutes before manually venting.
How to cook chicken thighs in a pressure cooker?
Set the pot to high pressure for 8 minutes with the meat coated in sauce. If you want more tender thighs, follow a similar timing process to ensure they stay juicy.
Is it true that you can fry chicken in an Instant Pot?
False. The appliance is designed for pressure cooking and sautéing, but it cannot deep fry food.
Which recipe feature adds the most value to your Instant Pot?
Cooking jasmine rice and chicken simultaneously in one pot provides the most efficiency. This is achieved by nesting a stainless steel bowl of rice on a trivet above the meat.
What makes this a top-tier meat recipe for the pressure cooker?
Using the sauté function to transform a thin liquid into a sticky glaze creates a professional finish. It ensures the sauce coats the meat rather than pooling at the bottom.
Sweet and Sour Chicken in 30 Minutes