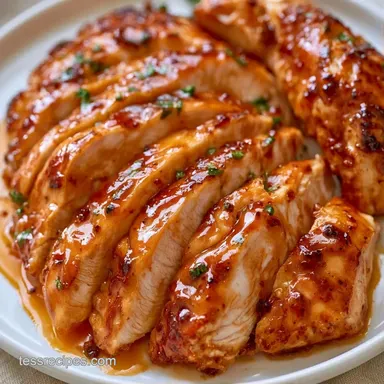
Instant Pot Asian Chicken Breast
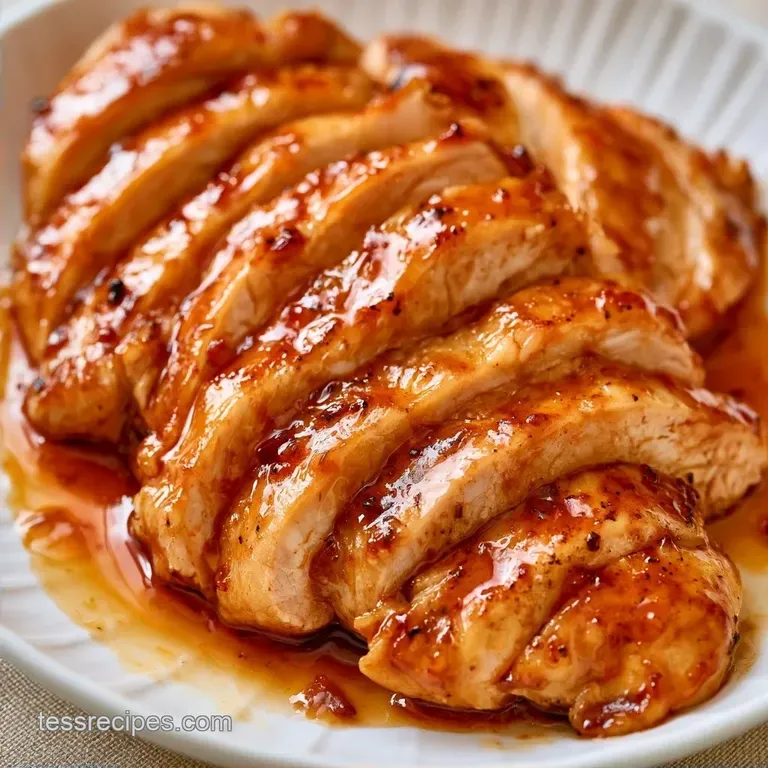
- Time: 15 min active + 15 min pressure and rest
- Flavor/Texture Hook: Savory sweet glaze with tender, sliced meat
- Perfect for: Busy weeknight dinners and meal prep
The smell of toasted sesame oil and fresh ginger hitting a hot pan always reminds me of the best takeout spots. But let's be real, chicken breast in a pressure cooker often ends up feeling like a rubber band if you aren't careful. I spent way too much time eating dry, chewy meat before I figured out the timing.
The goal here is a mahogany colored glaze that clings to the meat. This Asian Chicken Breast recipe focuses on a quick sear and a very short pressure window to keep the juices inside the meat. You get a hearty meal that tastes like it simmered for hours, but it actually finishes in about 30 minutes.
You can expect a sauce that is savory, slightly sweet, and has a bit of a kick from the red pepper flakes. It's a reliable win for those nights when you have zero energy but still want something that tastes high effort.
Quick Recipe Specs
This dish relies on the speed of the Instant Pot to tenderize the meat while the cornstarch slurry provides that restaurant style shine. It's designed for efficiency, moving from the sauté phase to the pressure phase without needing extra pots.
The cook time is tight, and the natural release is what prevents the muscle fibers from tightening up too much. If you're planning your evening, you can have this on the table in exactly 30 minutes from the moment you start chopping garlic.
What's in the Pot
The balance of salt from the soy and acid from the rice vinegar creates a deep flavor profile. Each part of the sauce serves a specific purpose, ensuring the chicken doesn't just taste like soy sauce, but has layers of ginger and garlic.
| Component | Purpose | Substitute Notes |
|---|---|---|
| Soy Sauce | Salt and umami | Tamari for gluten-free; slightly saltier |
| Brown Sugar | Sweetness and color | Honey; makes the sauce thicker/stickier |
| Rice Vinegar | Acid to cut richness | Apple cider vinegar; slightly fruitier |
| Cornstarch | Thickens the glaze | Arrowroot powder; 1:1 ratio, clearer finish |
I've found that using freshly grated ginger makes a massive difference compared to the powdered stuff. The fresh root has a zing that cuts through the sugar and sesame oil.
Essential Kitchen Gear
You don't need a mountain of tools for this, but a few specific things make it faster. A sharp chef's knife is a must for the garlic and ginger, and a sturdy wooden spoon is the best tool for scraping the bottom of the pot.
The Instant Pot is the star here, specifically using the Sauté and Manual/Pressure Cook settings. If you have a silicone spatula, it's great for the final toss to make sure every piece of chicken is coated in that glossy sauce.
Making Asian Chicken Breast
Follow these directions to keep the chicken moist and prevent the sauce from scorching.
Phase 1: The Flavor Base
- Prepare the sauce. In a small bowl, mix the soy sauce, brown sugar, rice vinegar, sesame oil, ginger, garlic, and red pepper flakes. Stir until the sugar has completely dissolved.
- Brown the meat. Switch the Instant Pot to Sauté mode and add olive oil. Season the Asian Chicken Breast with salt and pepper, then brown for 2–3 minutes on each side until lightly browned. Remove the chicken and set it aside.
Phase 2: The Pressure Phase
- Deglaze the pot. Pour a bit of the sauce into the pot and use a wooden spoon to scrape up the browned bits. Note: This helps avoid the Burn notice.
- Assemble. Place the seared Asian Chicken Breast back into the pot and pour the remaining sauce over the top; do not stir.
- Pressure cook. Lock the lid and select Manual/Pressure Cook on High for 5 minutes.
- Vent steam. Let the pressure release naturally for 10 minutes, then quickly vent the remaining steam.
Phase 3: The Finish
- Let the meat rest. Move the chicken to a plate to rest for 5 minutes, then slice into medallions or shred with two forks.
- Thicken the glaze. Set the Instant Pot back to Sauté. Whisk in a cornstarch and water slurry for 1–2 minutes until the sauce is shiny and thick.
- Final coat. Return the Asian Chicken Breast to the pot and toss until thoroughly glazed.
Why This Method Works
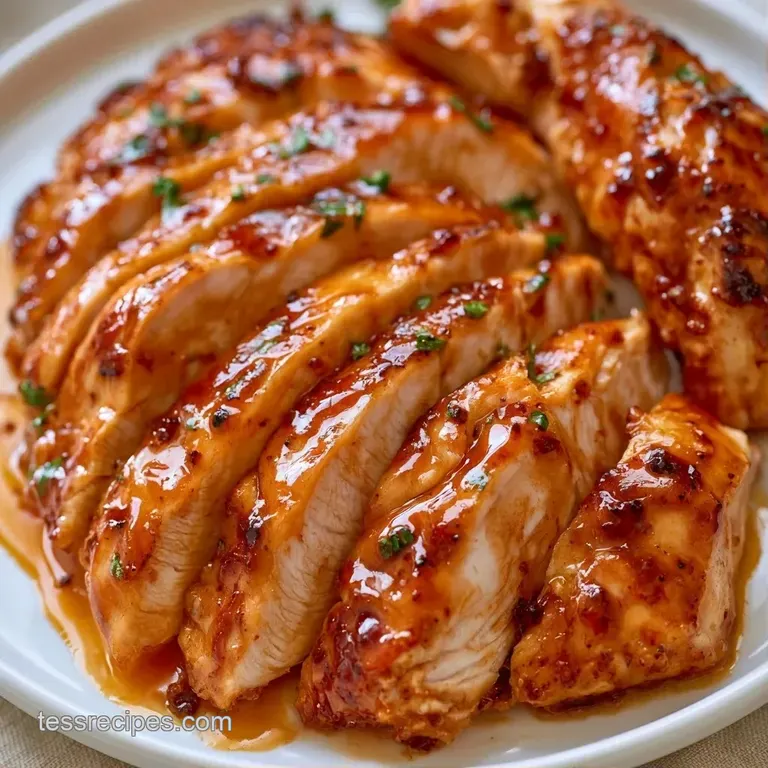
Chicken breasts are frequently overdone because they're handled like thighs. Due to their low fat content, they become dry immediately after hitting the safe internal temperature. That target is 165°F, and exceeding it by even 5 degrees can result in a rubbery texture.
Controlled Release: A 10-minute natural release allows the temperature to level out. This keeps the juices inside the meat rather than forcing them out via a sudden pressure drop.
The Sear: Searing beforehand builds flavor and creates a protective layer. While my Asian Chicken Thighs recipe manages fat differently for those cuts, the goal here is to get a great crust on the breasts.
The Slurry: Stirring in cornstarch at the finish ensures it doesn't decompose during pressure cooking. This results in a glossy glaze that coats the chicken instead of settling at the bottom of the bowl.
Fixing Common Issues
Even with a simple recipe, the Instant Pot can be finicky. The most common issue is the dreaded Burn notice, which usually happens when the sugar in the sauce sticks to the bottom of the pot.
Another issue is the texture of the meat. If you slice the chicken too thin before adding it to the pot, it will overcook in those 5 minutes. Always cook the breasts whole and slice them after the resting period.
If the sauce feels too thin, it usually means the slurry didn't reach a high enough temperature to activate. Just keep it on Sauté for another minute.
Rubbery Meat
If the chicken feels bouncy, it's overcooked. The best fix is to shred it very finely and toss it in extra sauce. The increased surface area helps the sauce mask the dryness.
Thin Sauce
A runny glaze happens when the cornstarch isn't fully hydrated or the heat is too low. Whisk in a tiny bit more slurry and simmer for 60 seconds.
Burn Notice
This happens if the deglazing step was skipped. If it triggers, quick release the steam, add a splash of water or broth, scrape the bottom thoroughly, and restart the pressure cycle for 2 minutes.
| Problem | Root Cause | Solution |
|---|---|---|
| Rubbery Meat | Cooked too long | Shred finely and add more sauce |
| Runny Glaze | Slurry not boiled | Sauté for 1-2 more minutes |
| Burn Warning | Stuck food bits | Deglaze with sauce and scrape bottom |
Storage and Leftovers
This Asian Chicken Breast stays fresh in the refrigerator for 3 to 4 days. Use an airtight plastic container or glass jar for storage. To help the sauce regain its consistency during reheating, stir in a teaspoon of water.
For longer storage, freeze the chicken and sauce together in a freezer safe container or vacuum sealed bag for up to 3 months. Let it defrost in the refrigerator overnight before warming it up in the microwave or on the stovetop.
Minimize waste by saving extra sauce for a speedy stir fry. Simply sauté some frozen carrots and peas, stir in the remaining glaze, and serve over rice for a quick meal. Any remaining chicken is also perfect for tossing into a cold noodle salad the following day.
Customizing the Flavor
Feel free to customize this based on your available ingredients. For more heat, use twice the red pepper flakes or stir in a teaspoon of Sriracha during the initial sauce prep. For a nuttier touch, top the finished meal with crushed peanuts or toasted sesame seeds.
If you're craving something citrusy, give my Lemon Chicken Breast a try. To transform this into a stir fry, toss in snap peas and sliced bell peppers during the final Sauté stage, cooking them for 2 minutes before returning the chicken to the pan.
Decision Shortcut:
- More spice? → 1/2 tsp more red pepper
- Heavier glaze? → simmer for an extra 2 mins
- Lower sodium? → swap for low sodium soy sauce
After testing several techniques, I found the Instant Pot produces the most tender, moist results.
| Method | Speed | Texture | Effort |
|---|---|---|---|
| Instant Pot | Fast | Juicy | Low |
| Stovetop | Medium | Firm | High (Stirring) |
| Oven | Slow | Drier | Low |
Use caution with salt when increasing the yield. If you're using 4 lbs of meat, only multiply the brown sugar and soy sauce by 1.5x. Salt can become overly concentrated in a pressure cooker. Additionally, cut the water in the slurry by 10% when doubling the recipe to maintain a thick consistency.
Pairing Ideas
For the best experience, serve this Asian Chicken Breast atop fluffy jasmine or brown rice. This allows the grains to absorb the extra glaze so every bit of flavor is enjoyed. For those preferring low-carb alternatives, sautéed bok choy or steamed cauliflower rice are excellent choices.
Pair the dish with snap peas or steamed broccoli to add a fresh, crisp contrast to the sweet and rich sauce. I also recommend serving it alongside a quick slaw made with sesame oil and rice vinegar or some pickled cucumbers.
To finish the meal, garnish the chicken with sesame seeds and sliced green onions. These fresh additions help cut through the richness of the sesame oil and brown sugar, bringing a nice balance to the dish.
This Asian Chicken Breast is a dependable recipe for a stress free evening meal. Once you've mastered the timing, it's a perfect weekly staple. Just be sure to let the meat rest before slicing to ensure every piece stays juicy and delicious.
High in Sodium
1108 mg 1,108 mg of sodium per serving (48% 48% of daily value)
The American Heart Association recommends that most adults limit their sodium intake to 2,300 mg per day, and ideally closer to 1,500 mg for those with hypertension.
Tips to Reduce Sodium in This Recipe
-
Switch Soy Sauce-30%
Replace the regular soy sauce with low-sodium soy sauce or coconut aminos to drastically lower the salt content.
-
Omit Added Salt-25%
Skip the 1/2 tsp of salt used for seasoning the chicken, as the soy sauce provides more than enough salinity.
-
Increase Acidity-15%
Add fresh lime juice or increase the rice vinegar to brighten the flavor, which reduces the need for salt.
-
Dilute the Sauce-20%
Replace a portion of the soy sauce with water or unsalted chicken broth to maintain the volume of the sauce with less sodium.
-
Boost Aromatics
Double the amount of fresh ginger and garlic to create a more robust flavor profile without adding any sodium.
Recipe FAQs
What is the cook time for chicken breasts in an Instant Pot?
Set the Manual/Pressure Cook function to High for 5 minutes.
Tip: Allow a natural pressure release for 10 minutes before venting the remaining steam.
Why is my chicken breast rubbery in the pressure cooker?
Overcooking or skipping the resting period often causes a tough texture.
Tip: Let the meat rest on a plate for 5 minutes before slicing or shredding.
How to make chicken breast tender Asian style?
Sear the meat in olive oil for 2 3 minutes per side before pressure cooking.
Tip: Ensure the meat is seasoned with salt and pepper before it hits the oil.
Is it true that you cannot sear meat in an Instant Pot?
False. The Sauté mode allows you to create a golden crust without a separate pan.
Tip: Deglaze the pot with a splash of sauce to prevent the Burn notice.
Can I substitute chicken thighs in this recipe?
Yes, thighs work well and stay moist during the pressure cooking process.
Tip: For another great use of thighs, try our General Tsos version.
Asian Chicken Breast