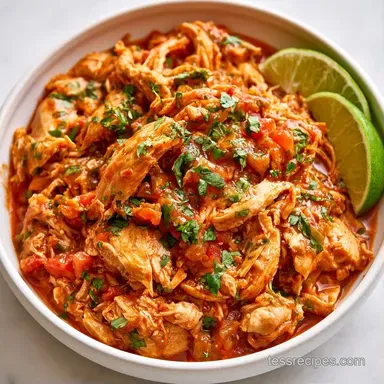
Guilt-Free Instant Pot Salsa Chicken
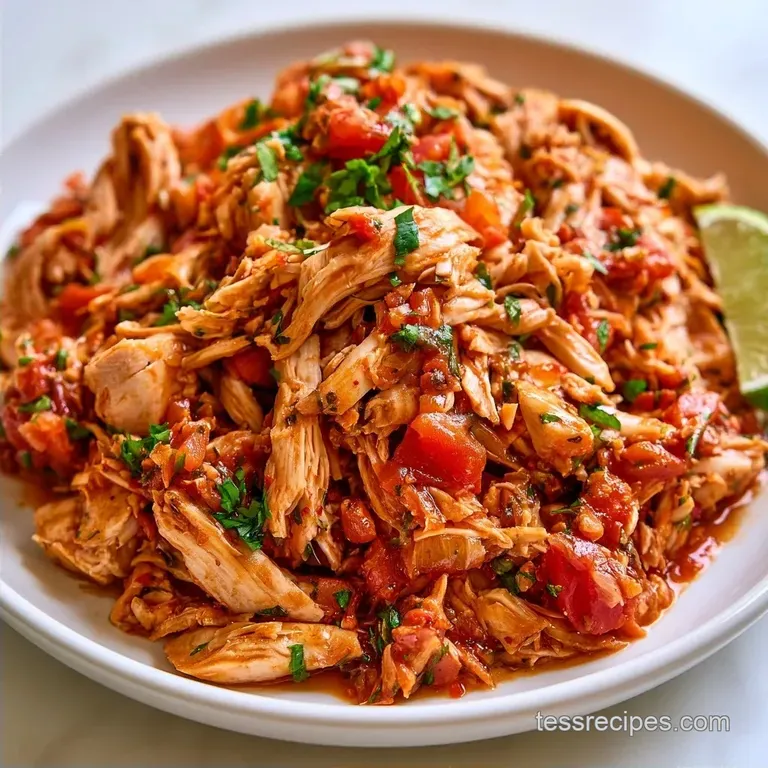
- Time: 5 minutes of prep and 25 minutes of cooking
- Profile: Zesty, rich, and fork tender
- Perfect for: Hectic evenings or protein-packed meal planning
- Why This Salsa Chicken Actually Works
- What Each Ingredient Does
- Ingredient List and Swaps
- Recipe Specs and Timing
- Tools You'll Need
- The Step-by-Step Process
- Avoiding Common Kitchen Disasters
- Storage and Leftover Tips
- Best Ways to Serve
- Dietary Changes and Swaps
- Other Flavor Twists
- Common Kitchen Myths
- Adjusting the Batch Size
- Recipe FAQs
- 📝 Recipe Card
The aroma of toasted cumin and lime hitting a hot pan always reminds me of the vibrant markets in Mexico City. There is something about those bold, punchy notes cutting through the richness of slow cooked meat that feels like home, regardless of whether you've visited.
It is a style of cooking that prioritizes being satisfying and full of life over being fancy.
I've spent quite a bit of time trying to capture that same deep, concentrated taste in a fraction of the time. While many assume you need a full day of simmering to get meat that truly shreds with a fork, that is where the pressure cooker changes everything.
This version of Salsa Chicken offers that same soulful, zesty outcome without the eight hour wait. It is designed for anyone who wants a substantial dinner but only has a few minutes to prepare before the cooking begins.
Why This Salsa Chicken Actually Works
Many recipes fail because they use chicken breasts, which dry out the second they overcook. I use thighs because they have more connective tissue. Under pressure, that tissue turns into silky gelatin, which keeps the meat juicy even after you shred it and simmer it.
Layering Logic: I don't stir the salsa into the spices. By keeping the thick salsa on top, you create a liquid barrier that protects the bottom of the pot from scorching.
The Reduction Phase: Most pressure cooker meals end up as "soup." The trick here is the quick sauté at the end. This evaporates the excess water and concentrates the flavors into a rich glaze.
| Method | Time | Texture | Best For |
|---|---|---|---|
| Instant Pot | 40 mins | Tender & Glossy | Fast weeknights |
| Slow Cooker | 6-8 hours | Very Soft | Set and forget days |
| Stovetop | 90 mins | Fibrous | Traditional feel |
What Each Ingredient Does
| Ingredient | Role | If You Don't Have It |
|---|---|---|
| Chicken Thighs | Hearty base | Breasts (cook 5 mins less) |
| Chunky Salsa | Acid & Liquid | Diced tomatoes + lime + chili |
| Black Beans | Texture & Fiber | Kidney beans or pinto beans |
| Smoked Paprika | Earthy depth | Regular paprika + pinch of cumin |
Ingredient List and Swaps
- 2 lbs boneless, skinless chicken thighs, trimmed Why this? Thighs stay juicy under pressure
- 16 oz low sodium, no sugar added chunky salsa Why this? Provides the bulk of the flavor and moisture
- 1 tbsp fresh lime juice Why this? Brightens the heavy spices
- 1 tsp ground cumin Why this? Essential earthy, Mexican inspired aroma
- 1 tsp garlic powder Why this? Even flavor distribution
- 1/2 tsp smoked paprika Why this? Adds a hint of fire roasted taste
- 1/4 tsp salt Why this? Enhances all other seasonings
- 1 can (15 oz) black beans, rinsed and drained Why this? Adds heartiness and plant protein
- 1 cup frozen corn kernels Why this? Adds sweetness and a pop of color
Recipe Specs and Timing
This is a fast paced meal. You spend very little time actually working and most of the time just waiting for the pot to do the heavy lifting.
- Prep time: 5 minutes
- Cook time: 25 minutes
- Total time: 40 minutes
- Yield: 6 servings
Tools You'll Need
All you need are a few basic kitchen tools. The primary piece of equipment is a 6 quart pressure cooker, such as an Instant Pot. I also suggest having two sturdy forks on hand for shredding the meat and a silicone spatula for the final stir.
If you are preparing a larger quantity of Salsa Chicken, a large mixing bowl makes the shredding process much easier.
The step-by-step Process
Phase 1: Layering the Ingredients 1. Place the trimmed chicken thighs into the inner pot. 2. Evenly dust the meat with cumin, garlic powder, smoked paprika, and salt. Note: This allows the seasonings to penetrate the chicken directly. 3. Spoon the salsa over the chicken.
Ensure the meat is mostly covered but do not stir to prevent a burn alert.
Phase 2: The Pressure Cooking Process 4. Lock the lid and turn the valve to 'Sealing'. 5. Select Manual/Pressure Cook on High for 20 minutes. 6. When the time is up, let the pot sit for a 10-minute Natural Pressure Release (NPR) before venting the remaining steam.
Note: This step keeps the meat from getting tough.
Phase 3: Shredding and Reducing 7. Move the chicken to a plate and shred it with two forks until it is tender and stringy. 8. Switch the Instant Pot to Sauté mode. 9.
Stir in the corn and black beans, simmering for 3-5 minutes until the sauce thickens and becomes glossy. 10. Fold the shredded chicken back into the concentrated sauce and mix in fresh lime juice before serving.
Avoiding Common Kitchen Disasters
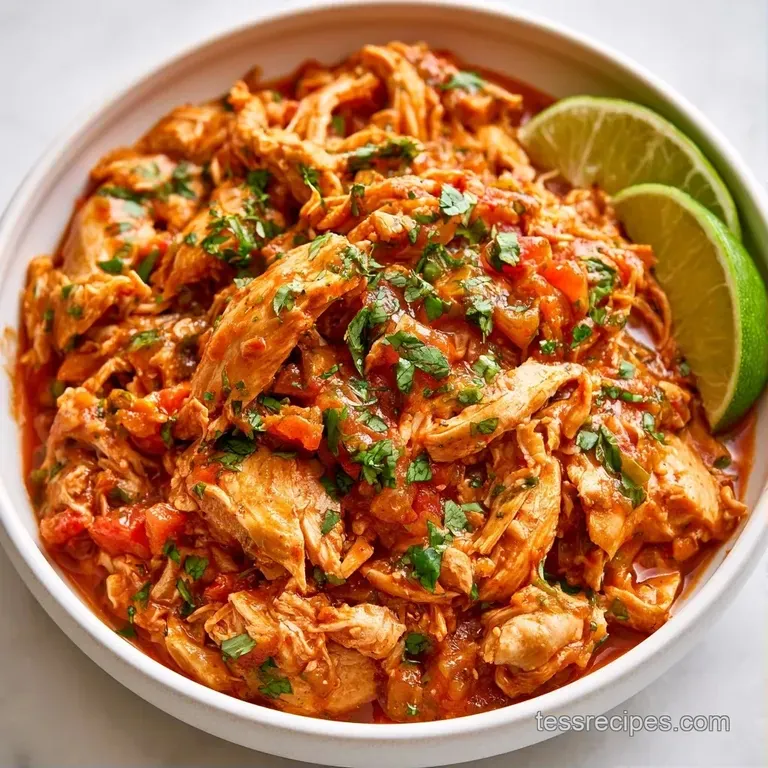
If your sauce looks more like a soup than a glaze, don't panic. It usually happens if the salsa has a high water content. I've had this happen when using "fire roasted" versions that are thinner. Just keep it on Sauté mode for a few more minutes.
The "Burn" warning is the biggest fear with Pot Salsa Chicken. This usually happens if you stir the thick salsa into the bottom of the pot before cooking. Keep the layers separate, and you'll be fine.
Dealing with frozen meat can be tricky. If you forgot to thaw your thighs, you can still make this, but you'll need to increase the pressure cook time.
Fixing "Salsa Soup"
When the liquid is too thin, the flavor feels diluted. Instead of adding thickeners like cornstarch, use the heat of the pot to concentrate the sauce.
Preventing the "Burn" Warning
Avoid stirring the pot before the pressure cycle. The thick solids in the salsa can settle and scorch if they aren't buffered by the chicken.
Managing Frozen Chicken
You can use frozen thighs, but the internal temperature takes longer to rise. Add 5-8 minutes to the cooking time.
| Problem | Root Cause | Solution |
|---|---|---|
| Sauce is too runny | High water content in salsa | Sauté for 5-7 extra minutes |
| Burn Warning | Stirring salsa into the bottom | Layer salsa on top; do not stir |
| Meat is tough | Venting steam too quickly | Use a 10 min Natural Release |
Storage and Leftover Tips
This Salsa Chicken keeps remarkably well in the refrigerator. I prefer using sealed glass jars, where it stays fresh for about 4 days. To bring back the moisture during reheating, stir in a little water or a squeeze of lime.
To freeze, place the chicken in heavy duty freezer bags and remove as much air as you can. It stays good for 3 months. Let it defrost in the fridge overnight before warming it on the stove.
Avoid wasting the leftover liquid in the pot. I use it to start a simple soup or reduce it further to serve as a marinade for grilled corn.
Best Ways to Serve
The versatility of this dish is why I love it. You can go traditional with corn tortillas, adding chopped white onion and cilantro. If you're looking for something more filling, pile the chicken onto a bed of cilantro lime rice with a scoop of avocado.
I also love putting this in a hollowed out bell pepper and topping it with a bit of Monterey Jack cheese. Pop it under the broiler for 3 minutes until the cheese bubbles. It's a great way to turn the Salsa Chicken into a more structured meal.
Dietary Changes and Swaps
If you need a lean option, try this Breast in 17 Minutes recipe for a lower fat version. For those avoiding corn, you can swap the corn kernels for diced zucchini or chopped kale, which wilt beautifully into the sauce.
If you want to go completely low carb, skip the beans and corn entirely. Serve the Salsa Chicken over cauliflower rice or in lettuce wraps. For something creamier and more comforting, my white chicken chili is a great alternative.
Quick Decision Guide:
- Extra heat? → fold in 1 tsp chipotle powder
- Too acidic? → add 1 tsp brown sugar
- Thicker sauce? → sauté 5 mins more
Other Flavor Twists
You can easily change the profile of this dish by swapping the red salsa for a salsa verde. This gives the Salsa Chicken a tangier, more bright flavor thanks to the tomatillos.
Another twist is adding a tablespoon of chipotle peppers in adobo. This adds a smoky, spicy kick that works well if you're serving the meat in tacos. I've also tried adding diced pineapple for a sweet and savory vibe, which is surprisingly good with the smoked paprika.
Common Kitchen Myths
Searing the meat first doesn't actually lock in juices. While it adds a bit of brown color, the moisture loss happens regardless of the sear. In a pressure cooker, you get plenty of flavor from the salsa without the extra step.
Many people think you must use chicken breasts for a "clean" meal. In reality, thighs provide more essential minerals and stay tender, meaning you don't have to add extra fats or oils to keep the meat from tasting like cardboard.
Adjusting the Batch Size
For smaller households of one or two, you can simply halve the recipe. Use a smaller pot if available and decrease the pressure cooking time by 2-3 minutes to avoid overcooking.
When doubling the portion for a larger group, be mindful of the seasonings. Avoid doubling the salt and paprika; instead, start with 1.5x and adjust at the end. You should also increase the sauté time by 5-10 minutes to allow the additional liquid to evaporate.
You're all set for a satisfying, quick dinner. This Salsa Chicken is designed to provide deep, comforting flavors with minimal effort. Stick with the thighs they truly make the dish.
Recipe FAQs
How to cook chicken thighs in a pressure cooker?
Place seasoned thighs in the pot, cover with salsa, and cook on high pressure for 20 minutes.
Tip: Use a 10-minute natural pressure release to keep the meat tender.
Can I use chicken breasts instead of thighs?
Yes, but reduce the cooking time to avoid overcooking the leaner meat.
Tip: Refer to our chicken breast technique for optimal timing.
Is it true I should stir the salsa before pressure cooking?
No, and here's why. Stirring the salsa can trigger the Burn notice by pushing solids to the bottom.
Tip: Pour the salsa carefully over the chicken to maintain the correct layering.
What happens if I skip the natural pressure release?
Rapidly venting the steam can cause the chicken to toughen or liquid to spray from the valve.
Tip: Let the pot sit for 10 minutes before turning the valve to venting.
Does adding extra corn improve the dish?
Yes, increasing the frozen corn adds more sweetness and texture.
Tip: Add the extra corn during the Sauté step to ensure it heats through.
What method works best for reheating leftovers?
Warm the chicken on the stove or in the microwave until heated through.
Tip: Add a squeeze of lime juice to restore the brightness and moisture.
Why is my sauce too thin after cooking?
The sauce needs to be reduced using the Sauté mode for 3-5 minutes.
Tip: Stir frequently during the reduction phase to achieve a glossy consistency.
Instant Pot Salsa Chicken