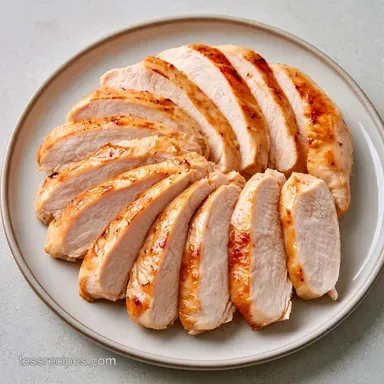
Instant Pot Frozen Chicken Breast
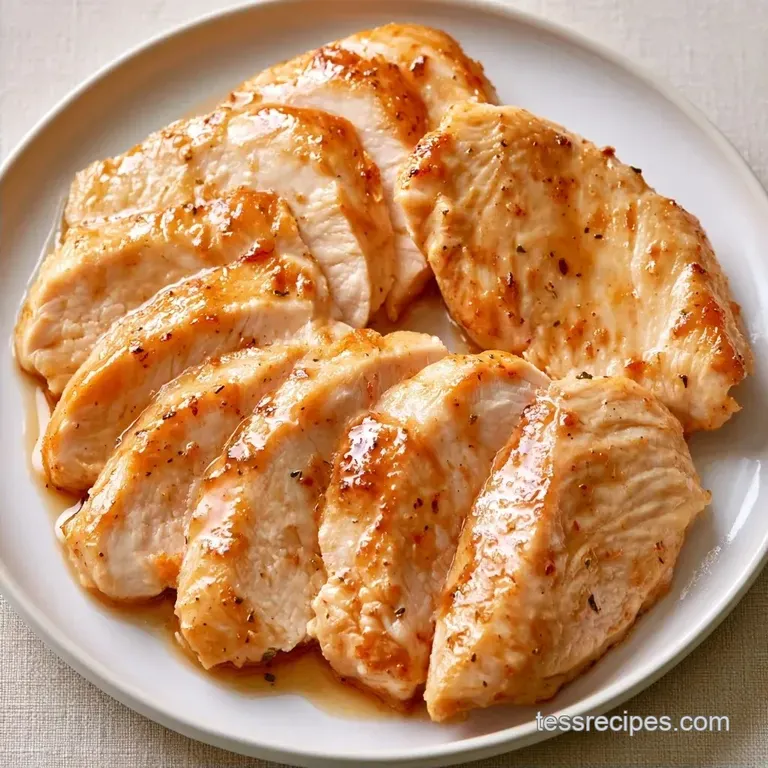
- Time: 5 min active + 22 min pressure cooking/release
- Flavor/Texture Hook: Tender, shreddable, and seasoned throughout
- Perfect for: Last minute weeknight dinners or high protein meal prep
That frantic 5 PM realization is the worst. You're standing in the kitchen, you open the freezer, and there it is: a rock hard block of ice that was supposed to be dinner. Most of us have tried the "quick thaw" in a bowl of lukewarm water, only to end up with chicken that's weirdly mushy on the outside and still frozen in the middle.
I used to just order takeout when this happened. But I found that the pressure cooker handles this beautifully if you don't rush the process. You can go from a frozen solid state to a tender meal without any of the overnight planning.
This method for Frozen Chicken Breast keeps the meat juicy. You won't get that rubbery texture that usually comes from overcooking the edges while waiting for the center to thaw. It's a reliable way to get dinner on the table when you've completely forgotten the prep.
Why This Method Works
Getting frozen meat right is all about heat management. Here is why this approach actually works for a Frozen Chicken Breast.
The Cold Mass: Frozen meat acts as a heat sink, which means the pot takes longer to reach pressure. We use a specific timing that accounts for this "lag" so the core hits the safe temperature without the exterior drying out.
Natural Release: Suddenly venting the steam shocks the muscle fibers. Letting the pressure drop on its own for 10 minutes keeps the juices inside the meat.
But how does this compare to other ways? Most people think about the oven or a pan, but those are risky with frozen proteins.
| Method | Time | Texture | Best For |
|---|---|---|---|
| Stovetop | 30+ mins | Often dry edges | Small, thawed pieces |
| Oven | 45+ mins | Even but slow | Large thawed batches |
| Pressure Cooker | 30 mins | Tender and juicy | Frozen blocks |
Tools You Will Need
You don't need a massive kit for this. A few basics will do the trick.
Essential Tools
An electric pressure cooker (like an Instant Pot) is the main requirement. You'll also need a digital meat thermometer. Trust me on this, because relying on "feel" with frozen meat is a gamble you don't want to take.
Extra Gear
A pair of tongs makes it easier to move the meat without burning your hands. If you plan on shredding the chicken, two forks or a hand mixer work great to pull the meat apart in seconds.
The Core Components
The goal is to build a flavorful base that seasons the meat during the defrosting and cooking process.
Ingredient Breakdown
| Ingredient | What It Does | Best Swap |
|---|---|---|
| Chicken Broth | Maintains moisture and adds steam | Vegetable broth or water |
| Olive Oil | Stops sticking and adds richness | Avocado oil or melted butter |
| Garlic Powder | Establishes a bold, savory foundation | Fresh minced garlic (add later) |
Everything You'll Need
- 1.5 lbs boneless, skinless frozen chicken breasts Why this? Lean protein that's convenient to store
- 1 cup chicken broth Why this? Avoids the "Burn" warning
- 1 tsp garlic powder Why this? Distributes flavor evenly
- 1 tsp onion powder Why this? Adds a hint of sweetness
- 1/2 tsp salt Why this? Fundamental flavor booster
- 1/2 tsp black pepper Why this? Gives it a touch of heat
- 1 tbsp olive oil Why this? Enhances heat conduction
Quick Recipe Specs
Right then, here are the numbers you need to keep things on track.
- Prep time: 5 minutes
- Cook time: 12 minutes
- Total time: 30 minutes
- Yield: 4 servings
Precision Checkpoints:
- Pressure Time: Exactly 12 minutes on High.
- Rest Time: 10 minutes of Natural Pressure Release (NPR).
- Safety Temp: 165°F (74°C) internal temperature.
The Cooking Steps
Let's crack on. Just follow these steps and don't be tempted to peek.
1. The Layering
Pour the olive oil and chicken broth into the inner pot. Place your Frozen Chicken Breast pieces inside. If they are stuck together in one big lump, try to nudge them apart slightly so the liquid can circulate, but don't stress if they're still clinging.
2. Adding Seasoning
Sprinkle the garlic powder, onion powder, salt, and black pepper evenly over the tops of the meat. Note: The seasoning sticks better to the frozen surface than it would to a wet, thawed one.
3. Setting the Seal
Close the lid and turn the steam release valve to the 'Sealing' position. Make sure it clicks into place, or you'll just have a very expensive pot of simmering broth.
4. The Pressure Cycle
Select 'Manual' or 'Pressure Cook' on High Pressure for 12 minutes. It will take about 8-12 minutes for the pot to come to pressure before the actual countdown starts.
5. The Resting Phase
When the timer beeps, leave it alone. Allow for a 10 minute Natural Pressure Release (NPR). This is the most important part for texture.
6. Final Venting
Carefully turn the valve to 'Venting' to let out any remaining steam. Keep your face and hands away from the valve to avoid steam burns.
7. The Final Check
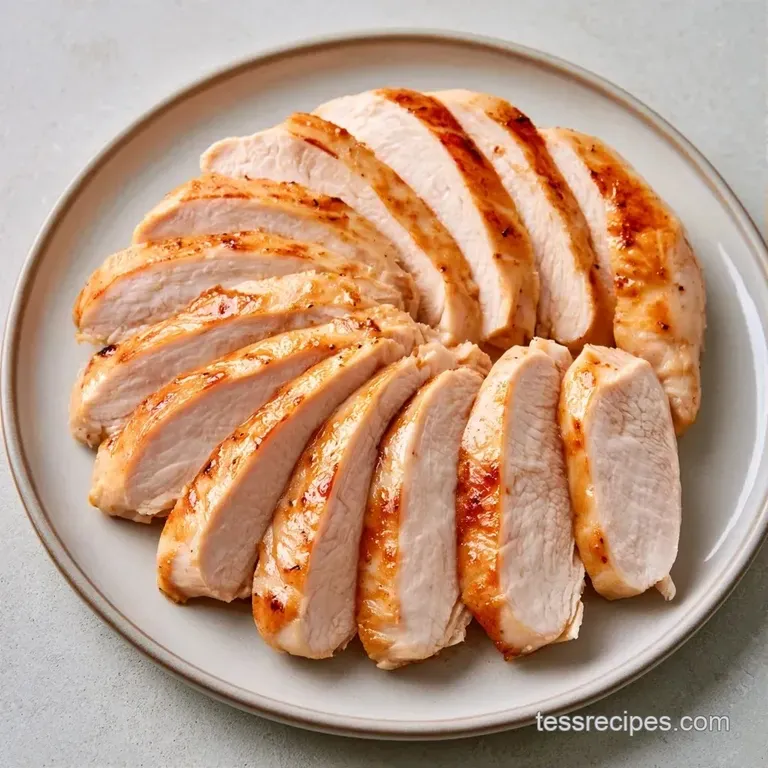
Move the meat to a plate. Use your thermometer to check the thickest part of the breast. USDA guidance puts the safe internal temperature at 165°F.
8. The Finish
Let the meat rest for 5 minutes before slicing or shredding. This lets the juices redistribute.
Fix Common Issues
Cooking from frozen can be tricky. I've had my share of mishaps, like the dreaded "Burn" warning, but these fixes solve almost everything.
The Burn Notice
This happens when there isn't enough thin liquid at the bottom or the meat is blocking the heat sensor. Always use a full cup of broth. If you want a thicker sauce, stir in a cornstarch slurry after the cooking is done, not before.
Frozen Centers
If the meat is still icy in the middle, it's usually because the breasts were too thick or clumped too tightly. Next time, try to separate the pieces more. You can put them back in for another 2-3 minutes of high pressure.
Rubbery Texture
This is almost always caused by using "Quick Release" instead of NPR. When the pressure drops too fast, the muscle fibers contract violently and squeeze out all the moisture.
| Problem | Root Cause | Solution |
|---|---|---|
| Burn Warning | Not enough liquid | Use 1 cup of thin broth |
| Raw Center | Clumped meat | Separate pieces before cooking |
| Tough Meat | Quick pressure release | Use 10 min Natural Release |
Storage and Leftovers
This makes an excellent foundation for meal prepping. Because the meat is pre-cooked, it's incredibly versatile for various recipes during the week.
In the Fridge Place the chicken in an airtight glass container; it will stay fresh for 4 days. Keeping it submerged in the remaining broth prevents it from becoming dry.
In the Freezer The cooked meat lasts up to 3 months in the freezer. Try storing it in small, portion-sized bags along with a little bit of the liquid.
Reheating Tips For the best results, warm the meat in a skillet on medium heat, adding a touch of broth or water. Steer clear of the microwave to prevent the chicken from turning rubbery.
Make the Most of Scraps Save that leftover broth! It's packed with garlic and savory chicken flavor. After straining, use it as a shortcut for soup or as a liquid for cooking quinoa.
Mix Up the Flavors
Once you have the timing down, you can change the flavor profile easily.
Flavor Tweaks For a zesty vibe, stir in some lemon juice and fresh parsley after cooking. If you want something heartier, add a tablespoon of smoked paprika and a pinch of cumin to the dry rub. If you have thawed meat, my Instant Pot Chicken Breast guide is faster since you can cut the time.
Dietary Swaps For a lower sodium version, use a "no salt added" broth and omit the extra salt. If you need a dairy-free cream sauce, stir in some coconut milk at the end.
Decision Shortcut:
- For shreddable meat: cook exactly 12 minutes.
- For slicing: check temp at 160°F and let rest 10 mins.
- For more sauce: add an extra 1/2 cup of broth.
What to Serve With
Depending on how you shred the meat, this Frozen Chicken Breast fits into several different meals.
The Power Bowl
Place the sliced chicken over a bed of spinach, quinoa, and roasted sweet potatoes. Drizzle some tahini or a Creamy Basil Chicken inspired garlic sauce over the top for a healthy lunch.
Taco Night
Shred the chicken with two forks and toss it with some lime juice and chili powder. Pile it into warm corn tortillas with pickled onions and avocado for a fast family dinner.
Right then, you've got a reliable way to handle those frozen blocks in your freezer. No more panic at 5 PM, just a tender, tasty dinner that doesn't require any overnight planning. Trust me, once you stop thawing and start pressure cooking, you'll never go back.
Recipe FAQs
What is the pressure cooking time for frozen chicken breasts?
Set the pressure cooker to high for 12 minutes.
Tip: allow a 10-minute natural pressure release to maintain juiciness.
How to avoid rubbery chicken in the Instant Pot?
Allow a 10-minute natural pressure release before venting the steam.
Tip: use a digital meat thermometer to ensure the center reaches 165°F.
Which meals work best with this cooked chicken?
Shred the meat for tacos, pasta, or hearty salads.
Tip: if you want a comfort food dinner, serve the breasts with mashed potatoes.
Is it true that frozen breasts must be thawed first?
This one's false: high pressure safely cooks the meat from frozen without losing quality.
Tip: add a tablespoon of olive oil to the pot to help prevent sticking.
Can frozen chicken be thawed in the Instant Pot?
Cook the chicken directly from frozen instead of attempting to thaw it in the machine.
Tip: stir in chicken broth to ensure the pot reaches pressure quickly.
Frozen Chicken Breast in 17 Minutes